You’ve made changes to your WordPress site, but they’re not showing up promptly. Often, the culprit is cached content across browsers, hosting servers, and WordPress plugins, hindering you from viewing the latest updates instantly.
Clearing your WordPress cache is an initial troubleshooting step recommended in such scenarios.
In this tutorial, we’ll walk you through the process of properly clearing the cache in WordPress. We’ll cover browser cache, web hosting cache, and the top WordPress caching plugins in detail to ensure your website reflects the recent changes effectively.

What Is Caching in WordPress?
Caching solutions store static versions of your website, allowing WordPress to bypass resource-intensive PHP scripts during site loading. This process optimizes WordPress speed, enhances performance, and delivers an improved user experience.
Different caching solutions exist for WordPress, including popular plugins like WP Total Cache and WP Super Cache. Additionally, managed WordPress hosting providers, and security tools like Sucuri or Cloudflare offer caching mechanisms for enhanced site speed and reduced downtime.
Why Clear Your WordPress Website Cache?
Failing to clear your WordPress cache may result in your site displaying an outdated version despite recent modifications. This issue affects both you and your visitors, preventing anyone from viewing the latest updates.
Clearing your WordPress cache ensures that the most recent version of your website is live and accessible to all visitors.
Let’s dive into the methods for clearing your cache in WordPress.
Method 1: Clear Your Web Browser Cache
Start by clearing your web browser cache. Most browsers store static website content to improve loading times. However, occasionally, they fail to recognize updated pages and load the cached version instead.
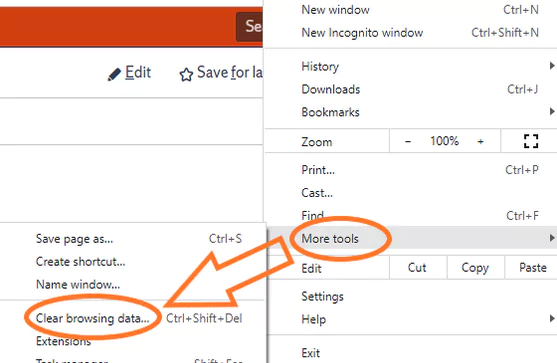
For instance, in Google Chrome, navigate to the menu icon, then click on More Tools » Clear Browsing Data. Ensure the ‘Cached images and file’ box is checked before clicking ‘Clear browsing data’.
For detailed instructions on clearing browser cache in various browsers, refer to our comprehensive guide.
If changes are still not visible, proceed to the subsequent methods outlined in this article.
Method 2: Clear Cache in Your WordPress Caching Plugin
If you’re using a WordPress caching plugin like WP Rocket, WP Super Cache, or W3 Total Cache, you’ll need to clear the plugin cache.
Clear Cache in WP Rocket
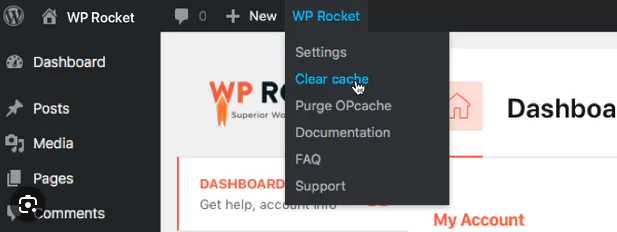
In WP Rocket, head to Settings » WP Rocket and click the ‘Clear Cache’ button in the plugin dashboard to remove cached files instantly.
Clear Cache in WP Super Cache

Access Settings » WP Super Cache in your WordPress dashboard, then click ‘Delete Cache’ or right at the top of your WordPress dashboard your have another ‘Delete Cache’ section to eliminate all cached content.
Clear Cache in W3 Total Cache
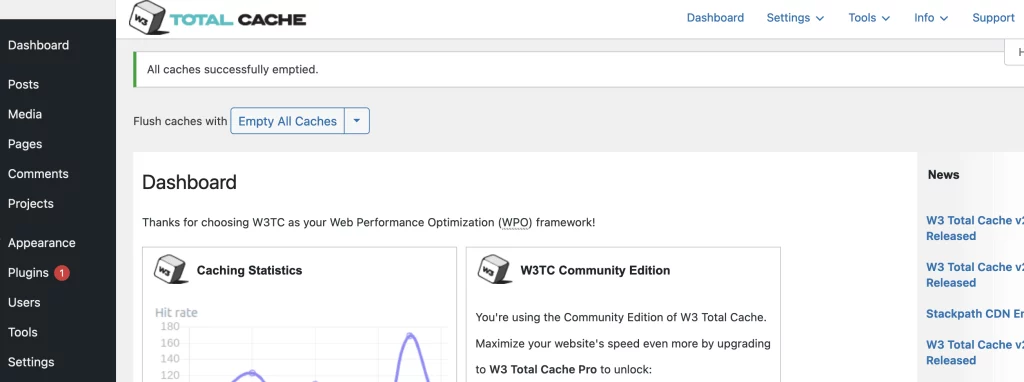
Navigate to Performance » Dashboard, and select the ‘empty all caches’ button to clear cached content with W3 Total Cache.
These steps ensure the removal of cached files generated by WordPress caching plugins.