In this tutorial, we will show you how to fix the image upload issue in WordPress.
As a WordPress user, one of the most frustrating issues you may encounter is the inability to upload images to your website.
This can be a problem, especially for those who regularly publish visual content.
Fortunately, there are several ways to fix this problem.
We will cover the most common causes of this problem and provide step-by-step instructions on how to solve it.
Why Can’t I Upload Images to WordPress?
There are several reasons why you may be unable to upload images to your WordPress website. Here are some of the most common causes of this issue:
File permissions: If the file permissions on your server are not set correctly, WordPress may not be able to access the images you are trying to upload.
Image size: If your image is too large, WordPress may not be able to upload it. This is because the server has a limit on the size of the file you can upload.
Plugin conflicts: If you have a plugin installed that conflicts with the WordPress image uploader, you may be unable to upload images.
Outdated WordPress version: If your WordPress version is outdated, it may not be compatible with the latest version of PHP, which can cause problems with image uploads.
Server issues: If your server is experiencing problems, it may be unable to upload images to your website.
Now that we have covered some of the common causes of image upload issues in WordPress, let’s take a look at how to fix them.
How to Fix Image Upload Issue in WordPress
Method 1: Check File Permissions
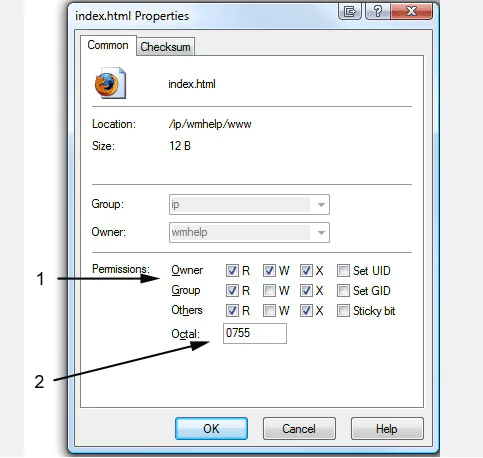
The first thing you need to do is check the file permissions on your server. If they are not set correctly, WordPress may not be able to access the images you are trying to upload. Here’s how to check your file permissions:
Log in to your hosting account and navigate to your website’s root directory.
Right-click on the wp-content folder and select “File Permissions.”
Ensure that the “numeric value” is set to “755” and the “recursive” option is selected. Click “OK” to save the changes.
If you are still unable to upload images, move on to the next method.
Method 2: Increase Upload Limit
If your image is too large, WordPress may not be able to upload it.
This is because the server has a limit on the size of the file you can upload.
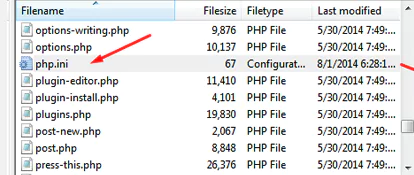
To increase the upload limit, you will need to edit your php.ini file.
Here’s how to do it:
Log in to your hosting account and navigate to your website’s root directory.
Look for the php.ini file and open it.
Search for the following line: upload_max_filesize = 2M
Replace “2M” with a larger value, such as “10M”.
Save the changes and close the file.
If you are still unable to upload images, move on to the next method.
Method 3: Disable Plugins
If you have a plugin installed that conflicts with the WordPress image uploader, you may be unable to upload images.
To disable plugins, follow these steps:
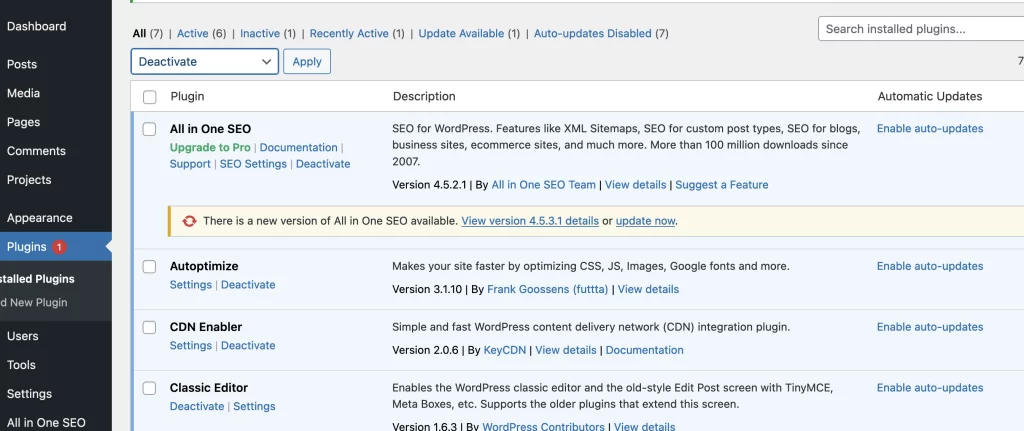
Log in to your WordPress dashboard.
Click on “Plugins” and select “Installed Plugins.”
Select all the plugins and choose “Deactivate” from the “Bulk Actions” drop-down menu.
Try uploading an image again.
If the image uploads successfully, you will know that a plugin was causing the issue.
You can then reactivate your plugins one at a time until you find the one that is causing the problem.
If this didn’t help to resolve the issue for you contact your developer or hosting provider.
Related
- How to Fix Error 521 in WordPress and Cloudflare
- How to Fix Uploaded File Exceeds Upload Max Error
- How to Fix “This file is not implemented” Error
- How to Fix admin-ajax.php Error