Creating a WordPress site on Pressillion takes just a few steps, whether you’re deploying to an existing server or provisioning a new one via container hosting. This guide will walk you through both methods so you can get started quickly.
📚 Table of Contents

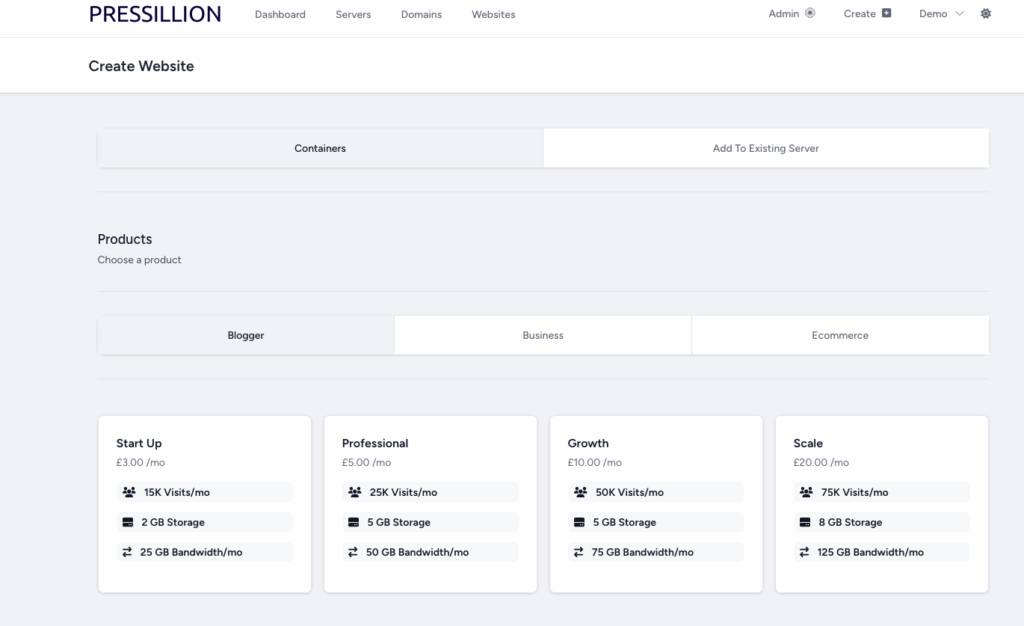
🔄 Option 1: Add to an Existing Server
If you already have a server on Pressillion, you can deploy a new WordPress website directly to it.
Steps:
- Log into your Pressillion Dashboard.
- Click the Create tab in the top right-hand corner.
- Select Create Website.
- Choose Add to Existing Server.
- Select one of your active servers from the list (e.g.,
press-docker-test-owned). - Add a name for your website using the input field or use the random name generator.
- You can rename the site later if needed.
- Click Create Site.
Your WordPress site will now begin provisioning on the selected server. Once complete, you’ll see it listed in your site dashboard.
☁️ Option 2: Use A Container
If you’re looking to host a single website without needing a full server, use our Container Hosting setup.
Steps:
- In the Create Website modal, select Containers.
- Choose your preferred Cloud Provider (e.g., DigitalOcean).
- Select your desired Server Size based on your site’s expected traffic.
- Choose a Data Center Location from the drop-down list (e.g., San Francisco).
- Add your website name, then click Create Site.
Pressillion will automatically deploy your server and provision WordPress on top of it. No manual configurations required.
❓ FAQ
Can I use my own domain during setup?
Yes, you can assign a custom domain after the website creation process.
Is SSL enabled by default?
Yes. All Pressillion-hosted sites include free Let’s Encrypt SSL certificates.
Can I migrate an existing WordPress site to Pressillion?
Absolutely. Use our free migration service or do it manually using popular tools like Duplicator or All-in-One WP Migration.
Do I need technical skills to use Pressillion?
No. Our dashboard is built for agencies and developers but easy enough for non-technical users.